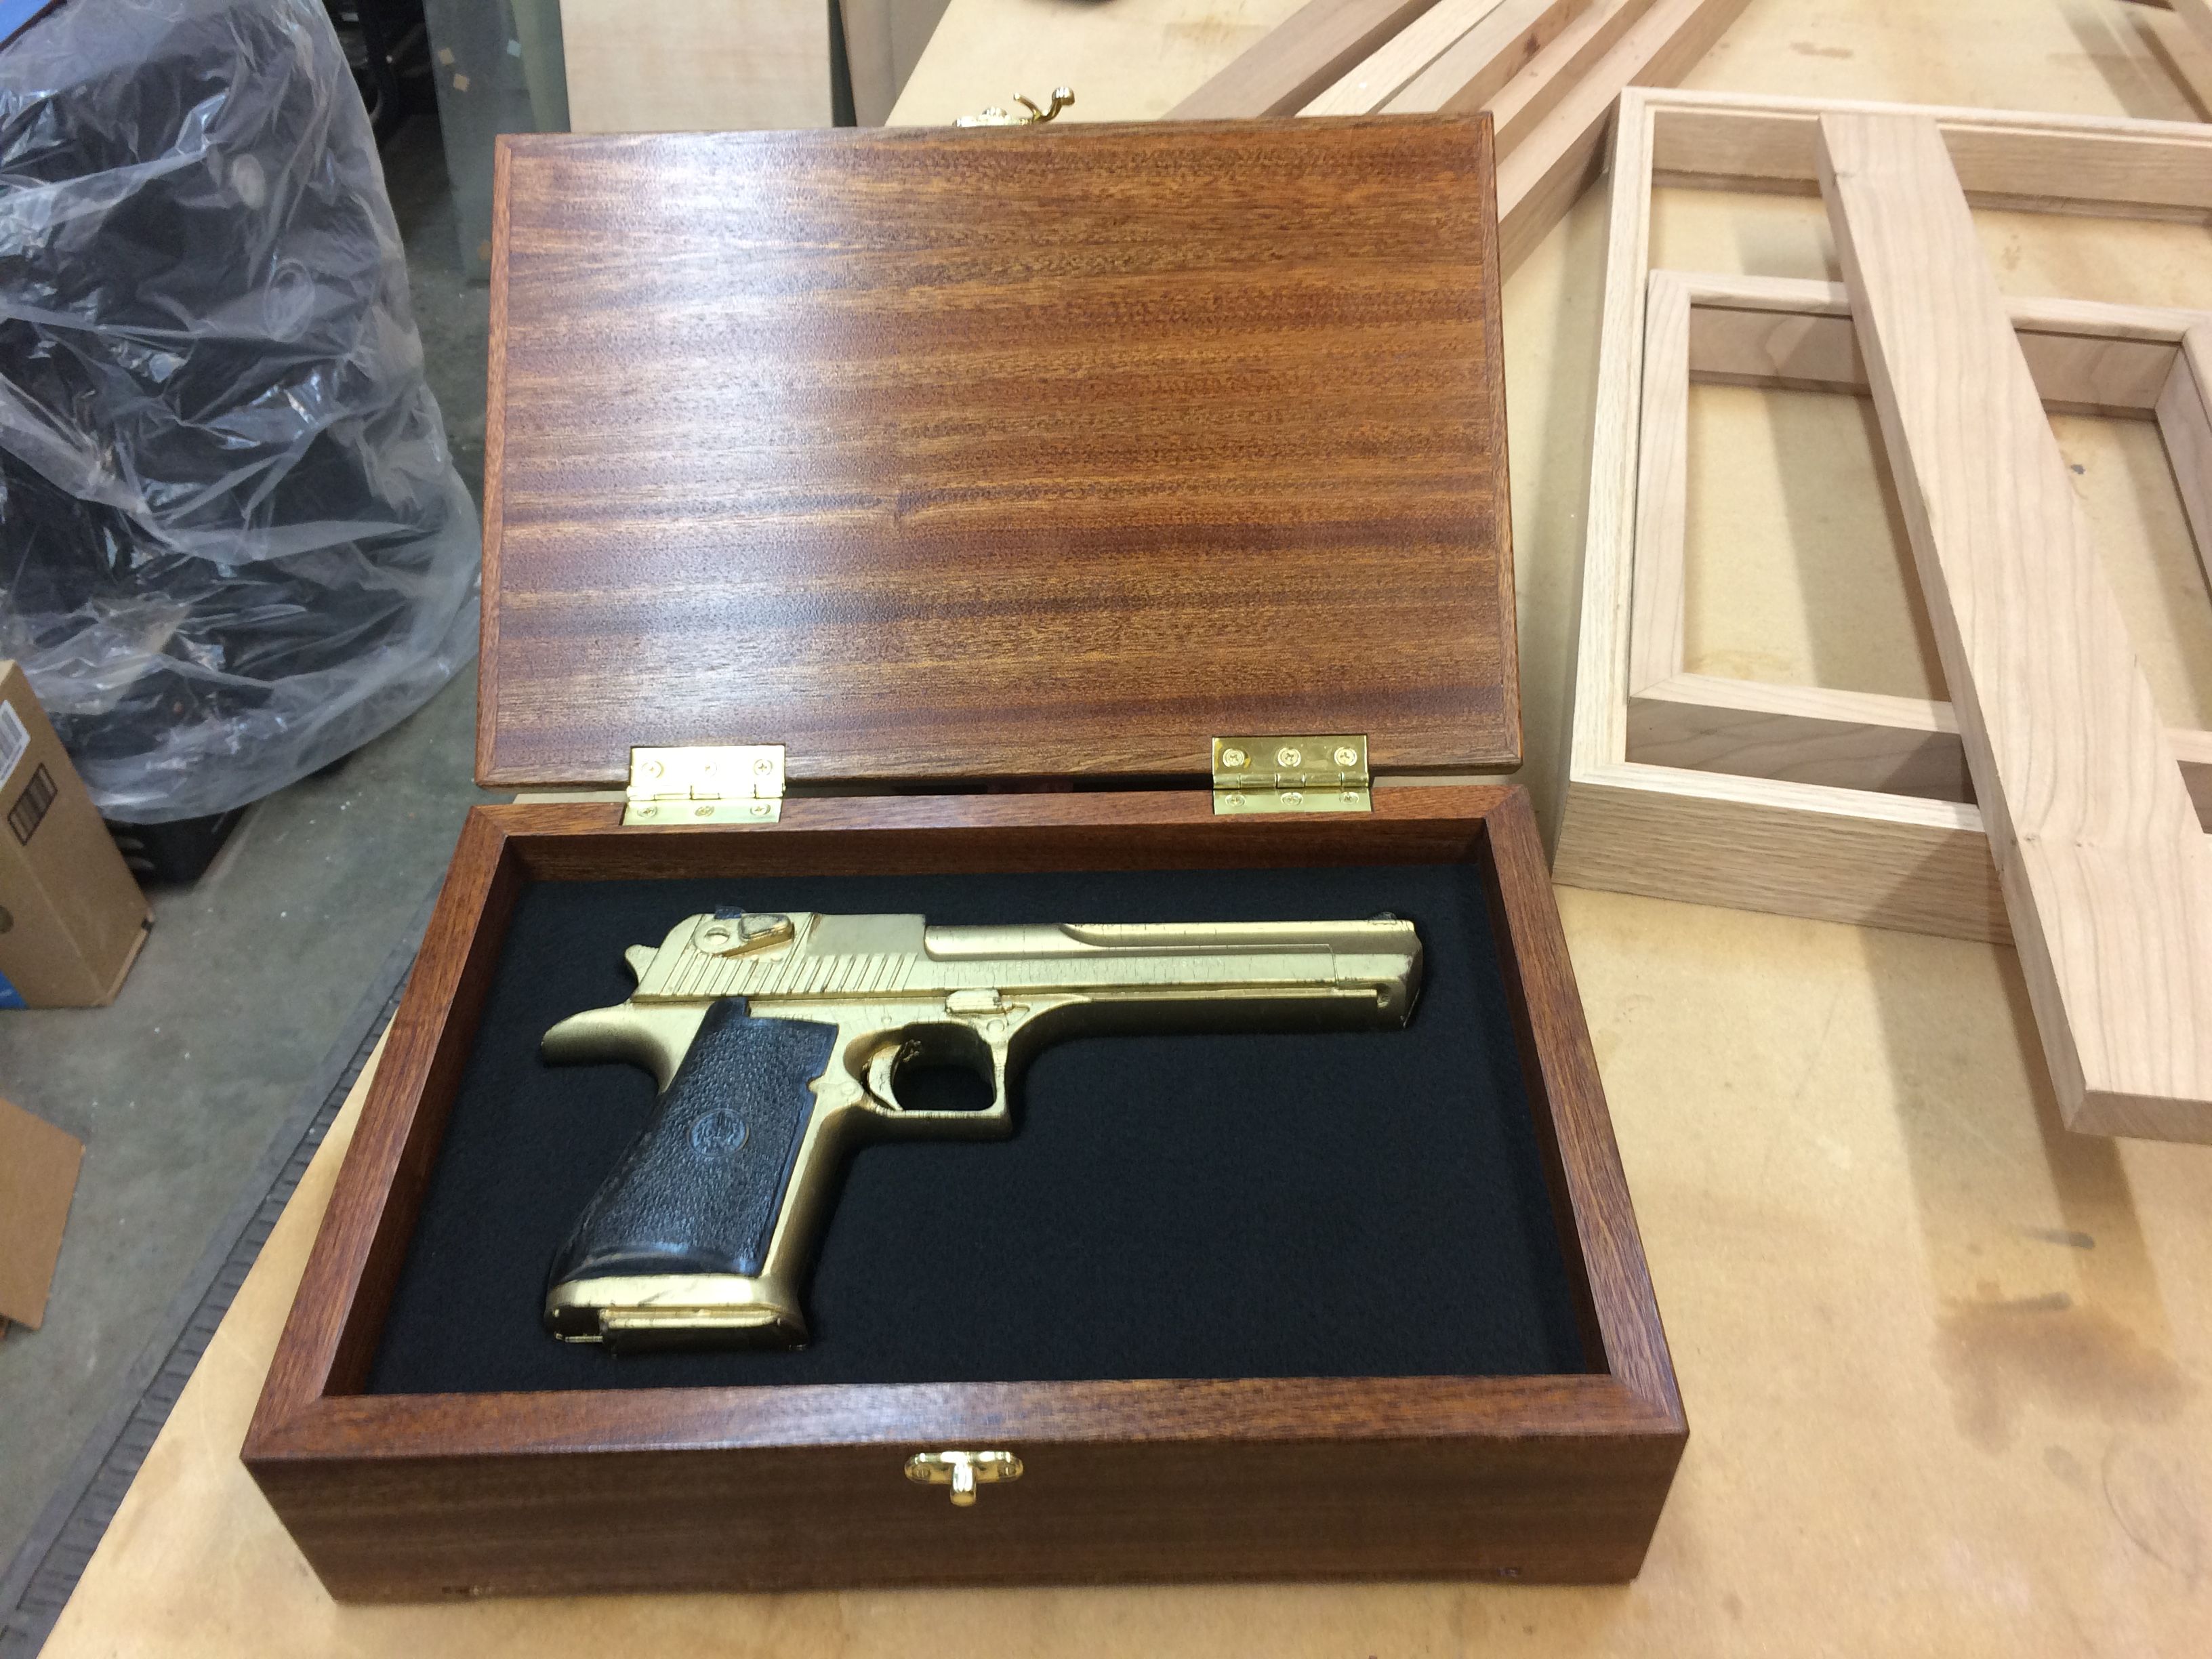
DIY Wooden Gun Case: A Step-by-Step Building Guide
A well-crafted wooden gun case provides secure storage and a touch of elegance to your firearms collection. Building your own case allows you to customize its size, design, and features to perfectly suit your needs. This comprehensive guide will walk you through the process, step-by-step, from planning to finishing, enabling you to create a durable and aesthetically pleasing gun case.
Step 1: Planning and Design
Before you start cutting wood, carefully plan the dimensions and features of your gun case. Consider the following factors:
1.1 Gun Dimensions
Measure the length, width, and height of the firearm(s) you intend to store in the case. Add some extra inches to allow for comfortable handling and padding. For example, add 1-2 inches to the length for a snug fit.
1.2 Number of Firearms
Determine the number of guns you want to store in the case. If you intend to store multiple firearms, ensure you provide ample space between them to avoid damage.
1.3 Design Features
Decide on the desired features for your gun case. Do you want a simple box or a more elaborate design with compartments, hinges, a lock, or a carrying handle? Consider incorporating features that enhance functionality and security.
1.4 Material Selection
Choose the appropriate wood for your gun case. Some popular options include:
- Hardwoods like oak, walnut, and cherry offer durability, rich color, and beautiful grain patterns. These woods are suitable for high-end cases.
- Softwoods like pine and cedar are more affordable and lightweight. They are good for basic cases.
- Plywood provides a stable and cost-effective option for construction. It's readily available in various thicknesses and veneers.
Step 2: Cutting and Assembling the Case
After finalizing your design, cut the wood pieces according to your measurements. Use a table saw, circular saw, or handsaw for precise cuts.
2.1 Cutting the Sides and Bottom
Cut two identical side pieces, two identical top and bottom pieces, and one bottom piece.
2.2 Cutting the Interior Dividers
If you are building a case for multiple firearms, cut interior dividers to separate the gun compartments. These dividers should be slightly shorter than the case's height to allow for padding.
2.3 Assembling the Case
Glue and screw the sides, top, and bottom together. Use wood glue for a strong bond and screws for added support. Secure the dividers in place using glue and screws as well. Clamps can help maintain pressure while the glue dries.
Step 3: Adding Padding and Interior Features
Protect your firearms with proper padding inside the case.
3.1 Padding
Line the interior of the case with soft padding materials, such as:
- Foam: Provides excellent cushioning and comes in various densities.
- Felt: Soft and abrasion-resistant, it helps prevent scratches.
- Velvet: Adds a luxurious touch and protects firearms from dust.
Secure the padding using glue, staples, or tacks.
3.2 Interior Features
Add any desired interior features, such as:
- Storage compartments for magazines, cleaning supplies, or other accessories.
- Slots for holding specific tools or accessories.
- A removable tray for easy access to firearms.
Consider using wood, plastic, or metal for constructing these features.
Step 4: Installing Hinges and a Lock
If you're incorporating hinges and a lock, install them at this stage.
4.1 Hinge Installation
Choose hinges that match the size and style of your case. Mark the positions for the hinges on the case lid and the body. Use wood screws or nails to secure the hinges. Ensure they are placed evenly and securely.
4.2 Lock Installation
Install the lock in a secure location on the case lid. Use a drill and Forstner bit to create a recess for the lock mechanism. Attach the lockplate to the case lid using screws. Ensure the lock functions smoothly and securely.
Step 5: Finishing Touches
After completing the construction and adding the desired features, it's time to finish your gun case.
5.1 Sanding
Sand the entire case surface using progressively finer grit sandpaper (from coarse to fine) to achieve a smooth finish. Pay attention to edges and corners.
5.2 Staining or Painting
Apply stain or paint to give the case its desired color and appearance. If staining, use a brush or cloth to apply a thin, even coat. Allow the stain to dry completely before applying a protective finish. For painting, use a brush, roller, or spray gun to apply multiple thin coats. Allow each coat to dry thoroughly before applying the next.
5.3 Protective Finish
Seal the wood surface to protect it from scratches, moisture, and wear. Consider using:
- Polyurethane: Durable and water-resistant.
- Varnish: Provides a high-gloss finish.
- Wax: Natural and easy to apply, but less durable.
Apply the protective finish according to the manufacturer's instructions. Multiple thin coats are generally recommended for a more durable finish.
5.4 Hardware
Add any decorative hardware like brass accents, leather straps, or metal corners for an extra touch of elegance.
Step 6: Final Inspection and Enjoyment
Once the finishing touches are complete, inspect your gun case thoroughly. Ensure all parts are securely attached, and the hinges and lock function smoothly.
Enjoy your handcrafted wooden gun case, knowing you have created a piece of art that will safely store your firearms for years to come. Customize your case with engravings, inlays, or other personal touches to make it truly unique.


0 comments:
Post a Comment
Note: Only a member of this blog may post a comment.