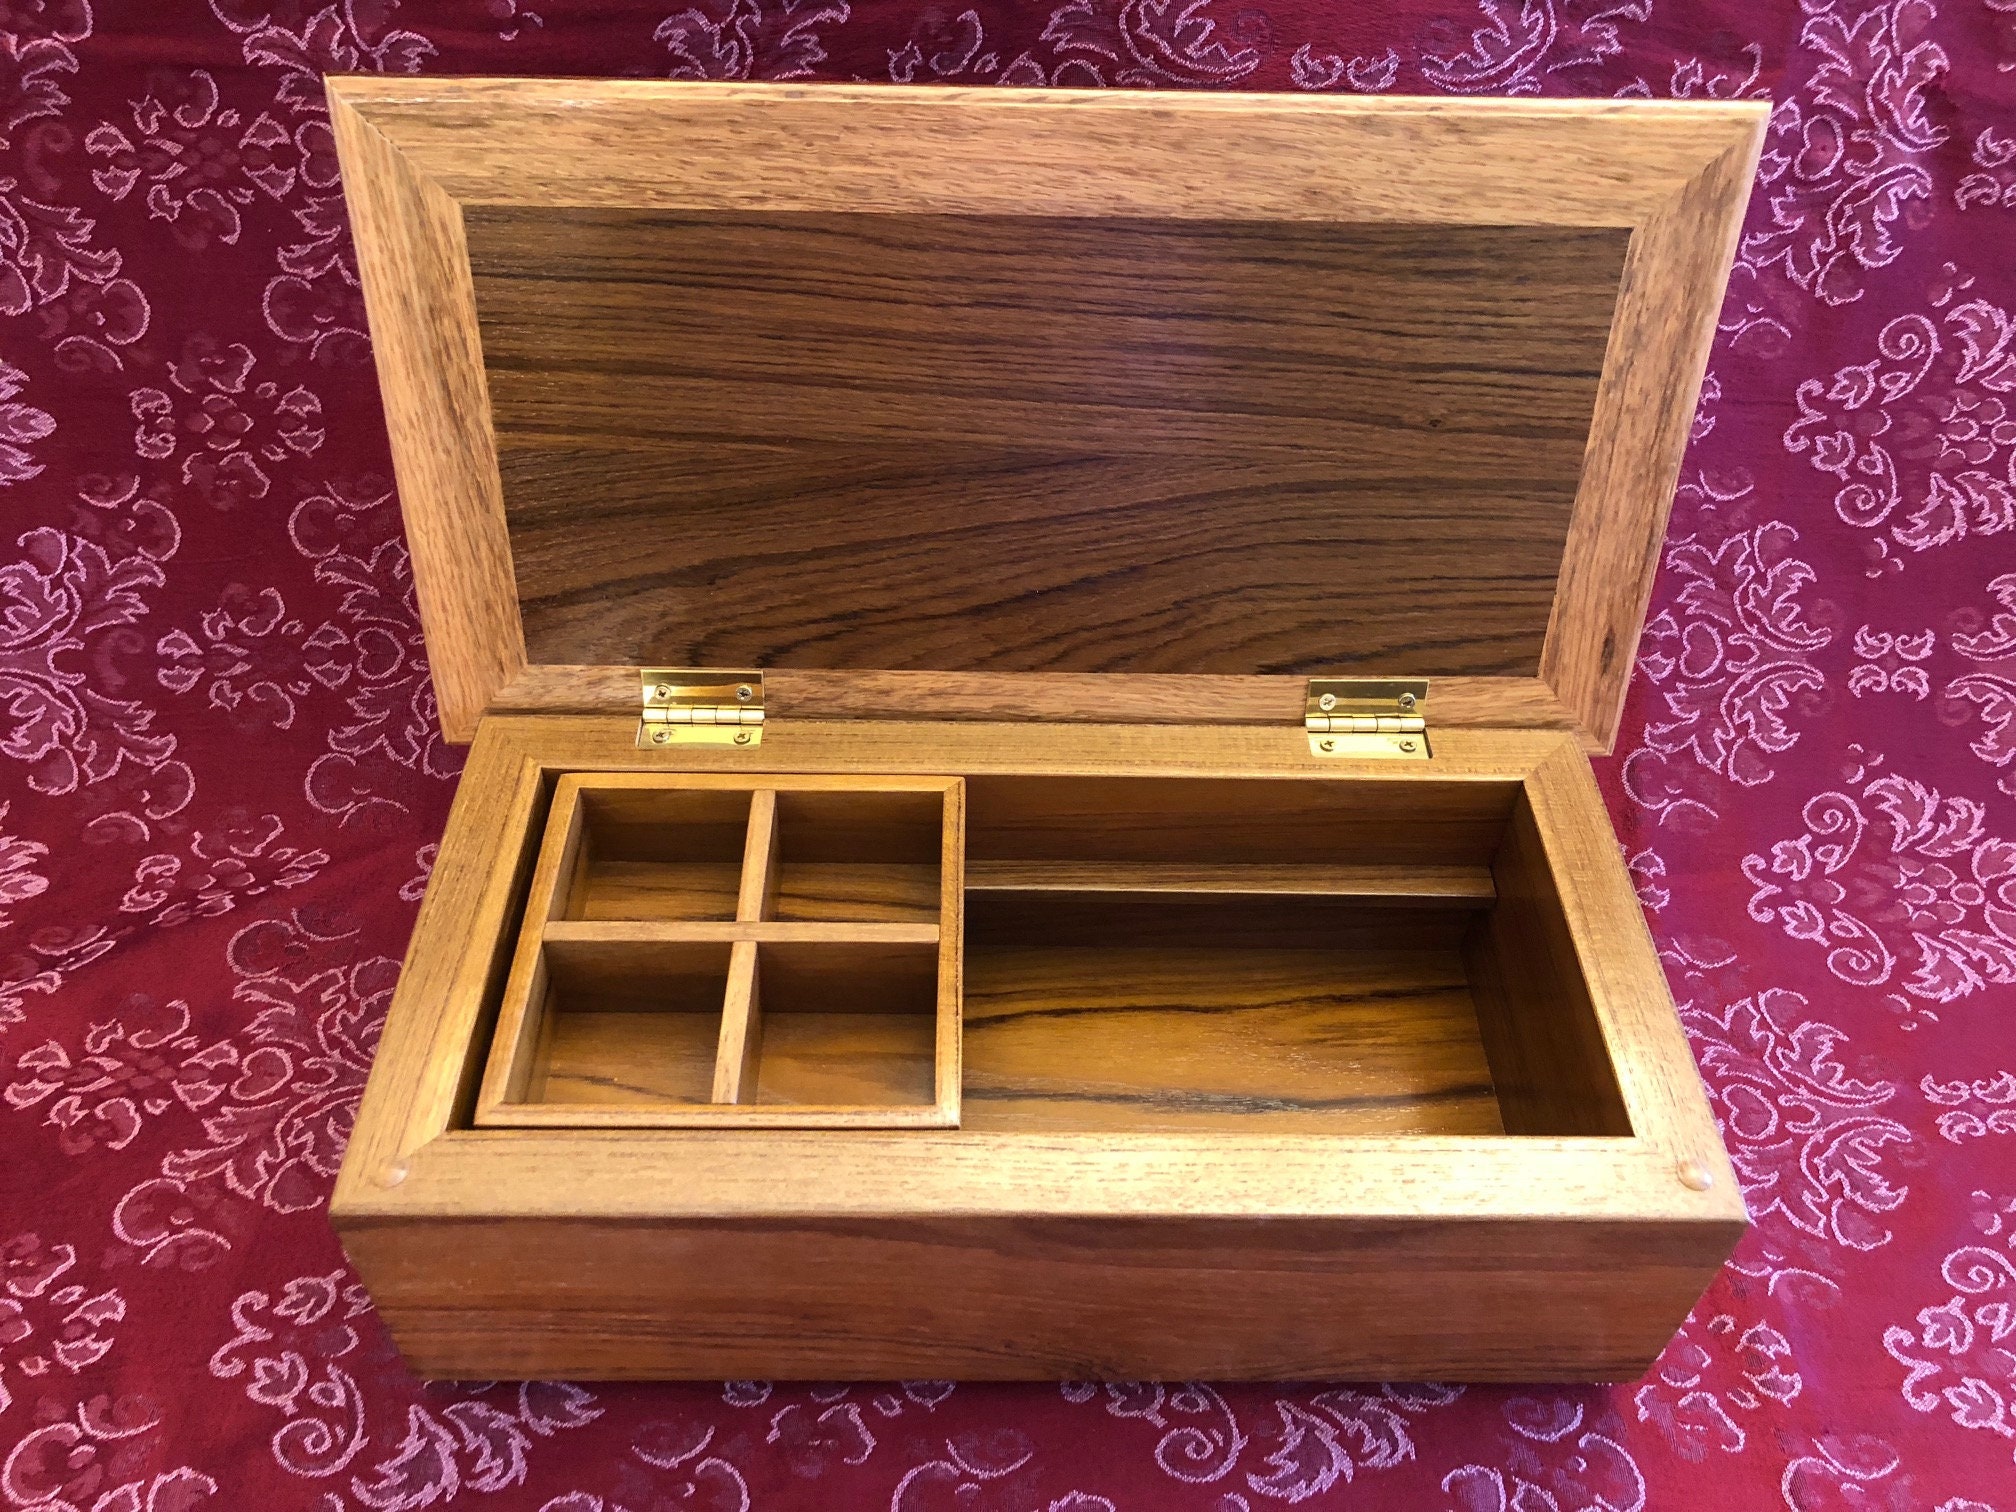
DIY Jewelry Box: A Simple Woodworking Gift Idea
Looking for a thoughtful and unique gift that you can create with your own hands? Look no further than a DIY jewelry box. This simple woodworking project is perfect for beginners, and it's a great way to show someone you care. Plus, it's a practical gift that they can use every day.
Materials You'll Need
Before you start, gather the following materials:
- Wood (1/2 inch thick) â€" Choose your favorite wood type for the box. Pine, cedar, or plywood are good beginner options.
- Wood glue
- Screws (1 1/4 inches)
- Sandpaper (fine grit and medium grit)
- Wood stain or paint (optional)
- Clear polyurethane finish (optional)
- Hinges (2)
- Jewelry box hardware (optional) â€" Consider adding a lock and key, drawer pulls, or decorative trim.
Cut and Assemble the Pieces
Start by cutting the wood to the desired dimensions of your box. You'll need four pieces for the sides, two pieces for the top and bottom, and a smaller piece for the lid. Use a saw to cut the pieces accurately and make sure they are all the same size.
Next, glue the sides together to form the box. Make sure the corners are square and let the glue dry completely. Secure the sides with screws to reinforce the structure. Repeat this process for the lid, securing the top and bottom pieces together.
Sand and Finish the Box
Once the box is dry, use sandpaper to smooth out any rough edges and imperfections. Start with medium grit sandpaper and then switch to fine grit for a polished finish. Be sure to sand all surfaces thoroughly. If you're planning to stain or paint the box, sand the entire surface using fine grit sandpaper to create a smooth finish for the stain or paint to adhere to.
After sanding, apply a coat of wood stain or paint, if desired. Allow the stain or paint to dry completely before applying a clear polyurethane finish for protection and a glossy shine.
Attach the Hinges and Lid
Attach the hinges to the lid and the box body, ensuring they are aligned properly. Use wood glue to secure the hinges to the wood and then use screws to reinforce the hinges.
Now, carefully attach the lid to the box, ensuring it opens and closes smoothly. If you're adding any additional hardware, like a lock or drawer pulls, install them now.
Personalize Your Jewelry Box
You can personalize your jewelry box in many ways. You can add a custom design to the lid using wood burning, paint, or other decorative techniques. You can also personalize the box by adding a special inscription or your recipient's initials.
Enjoy Your Handmade Gift
Your DIY jewelry box is now complete! Present it to your loved one with pride, knowing you've crafted a thoughtful and unique gift that they'll cherish for years to come.


0 comments:
Post a Comment
Note: Only a member of this blog may post a comment.